I haven’t posted a Photoshop tutorial in quite a while. There are many reasons for that, but the TL;DR is that I feel that it was not necessary anymore. However, as I was checking the new features in Photoshop I decided to play with it and was quite surprised. Some cool new additions, some interesting changes with Blend Modes, still a quite demanding application for my computers, but nonetheless still a lot of fun to use to create cool effects.
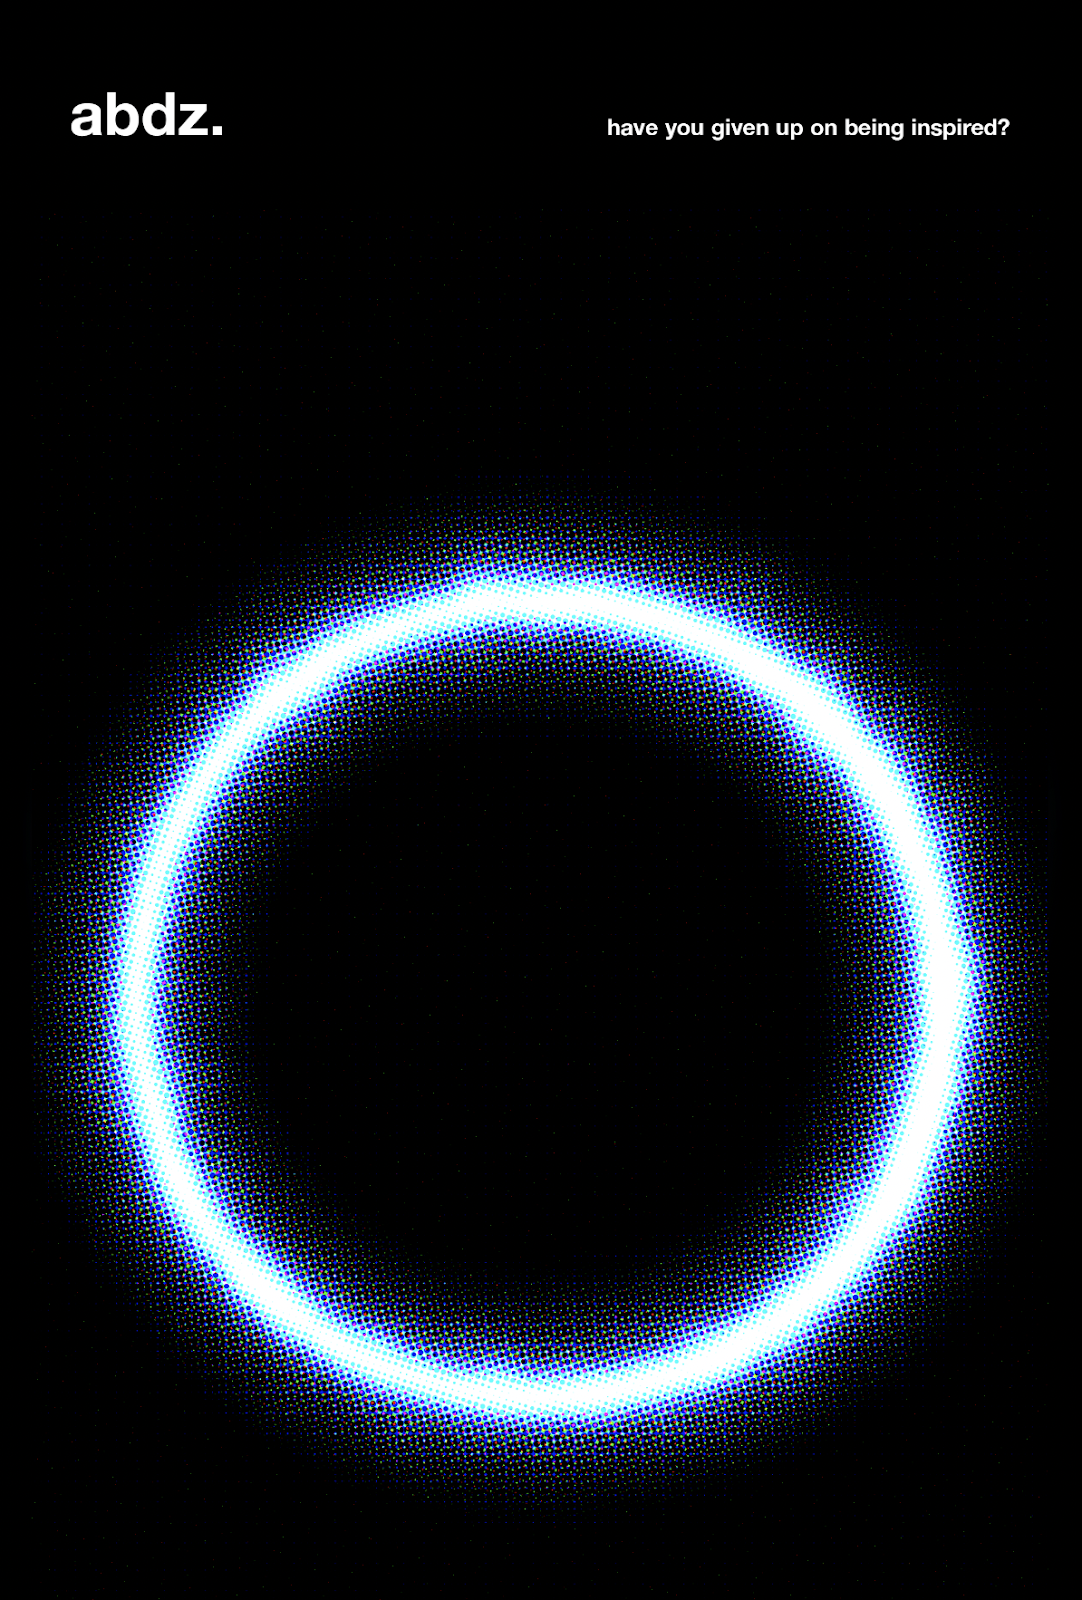
For this tutorial I just play with the idea of using halftones to create a minimal poster for abdz.’ new brand. I hope you enjoy it.
Step 1
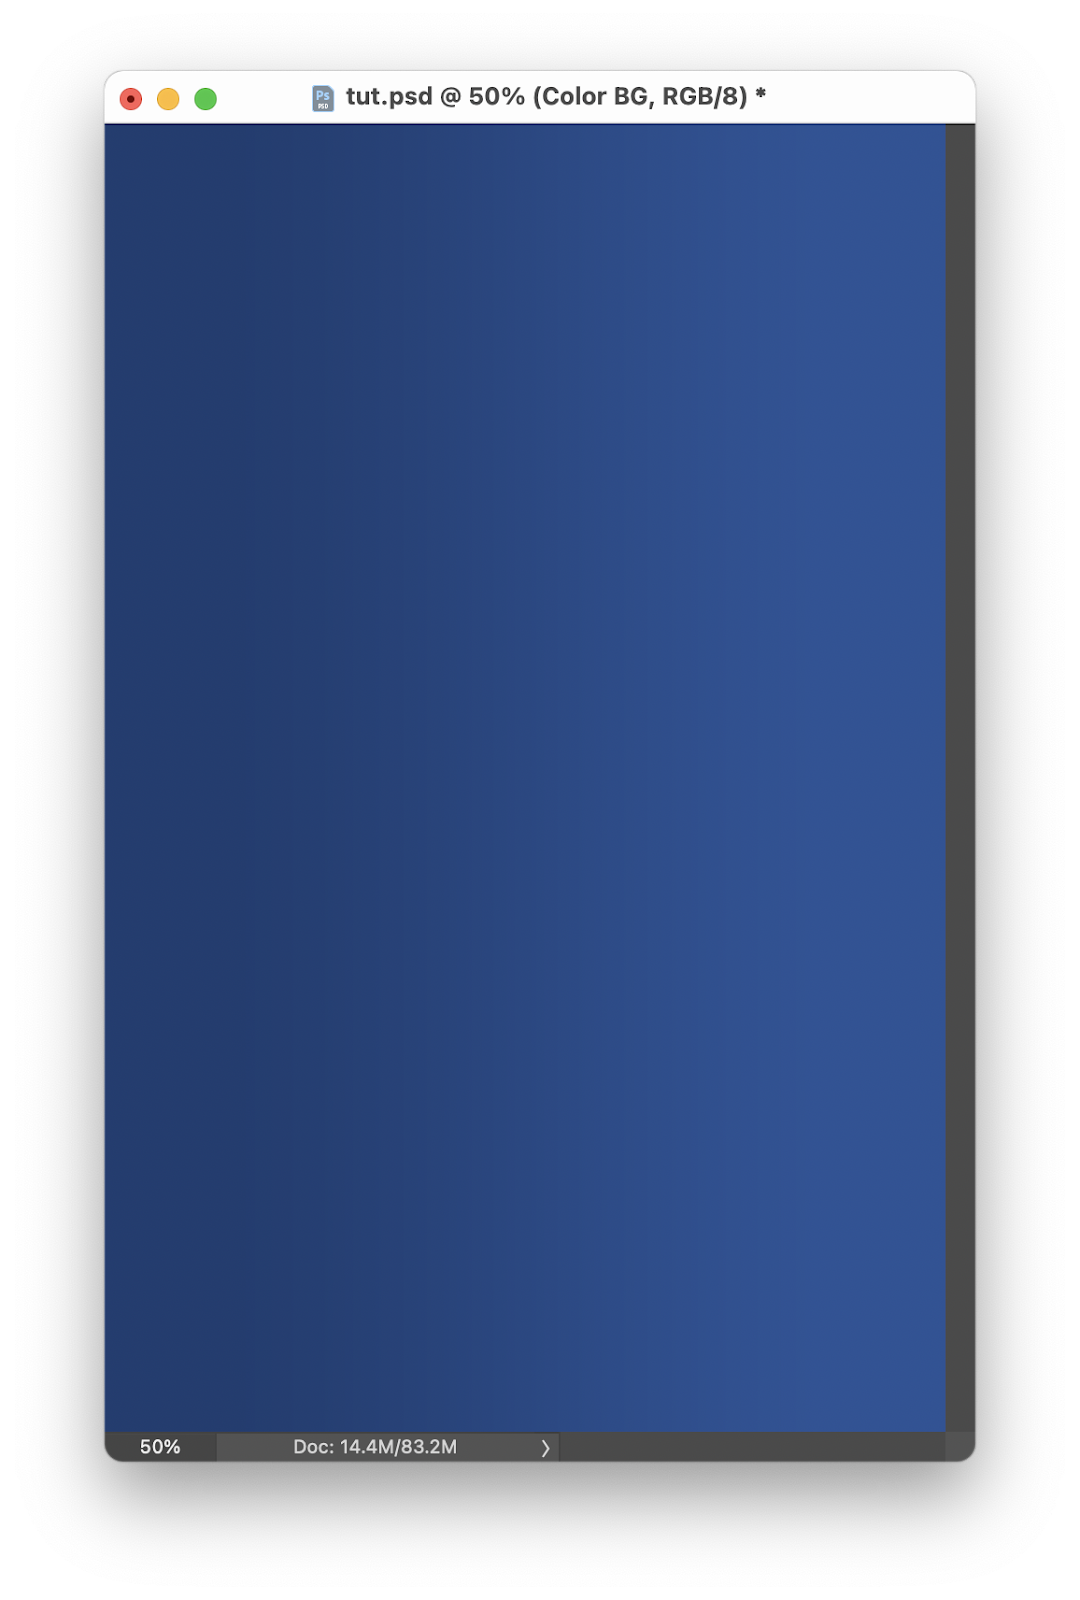
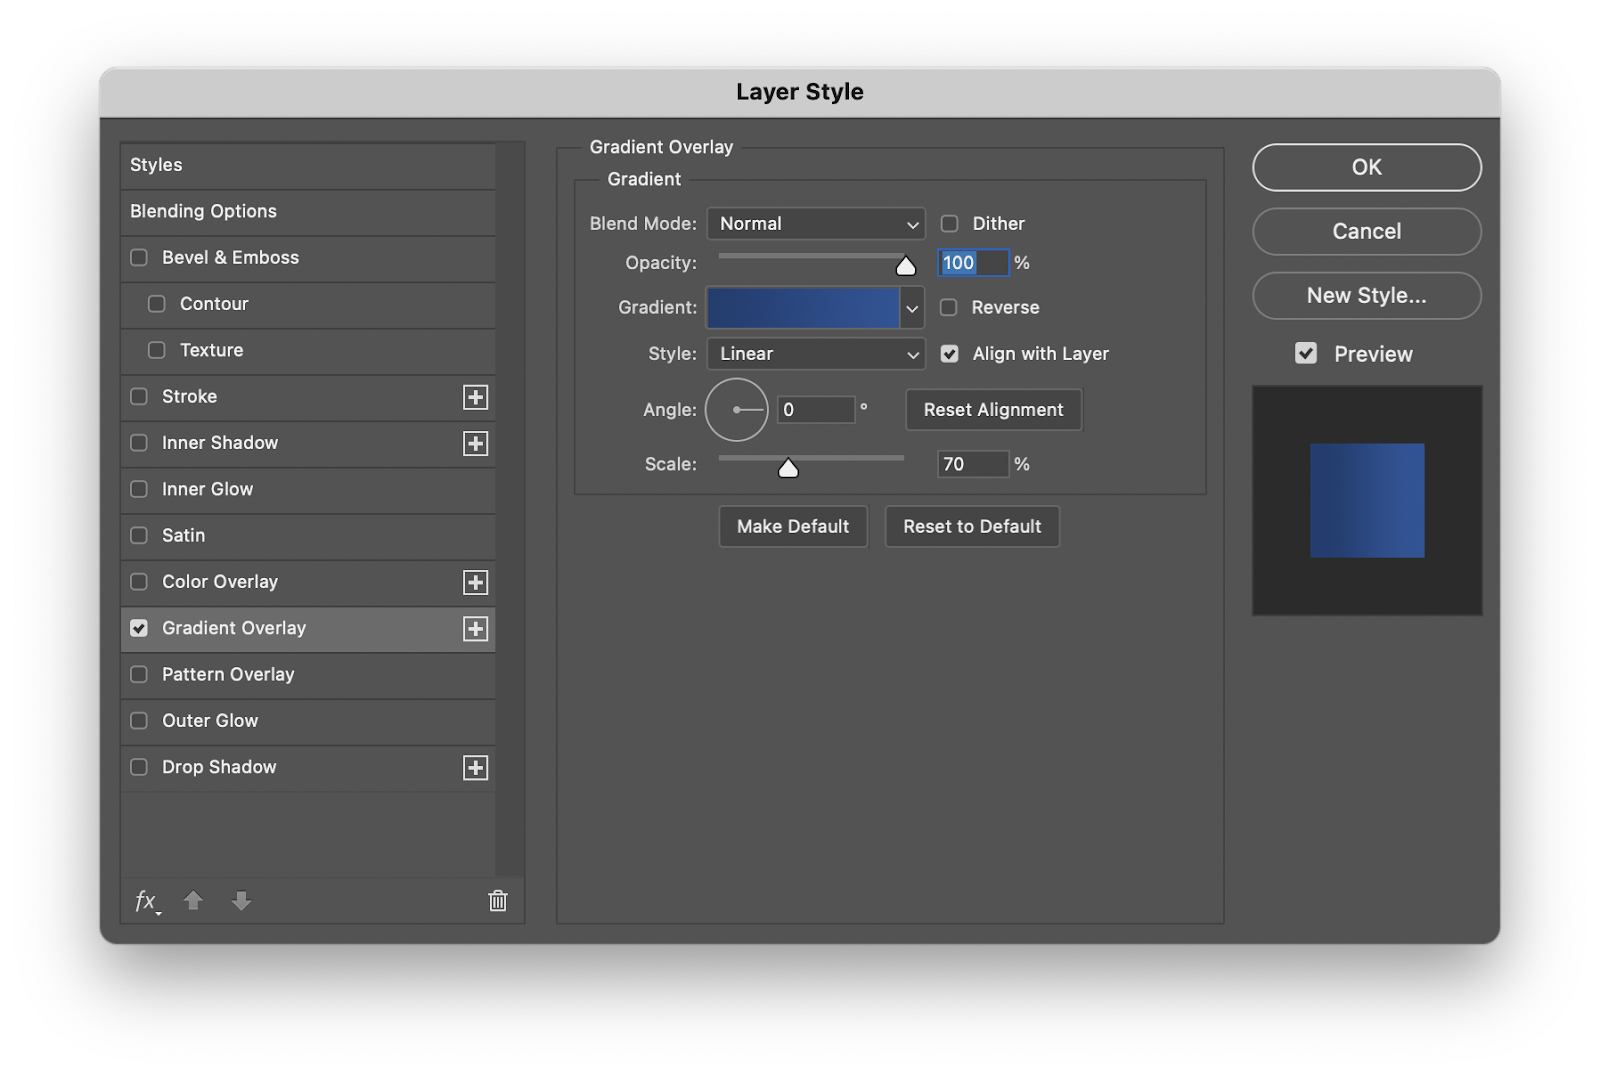
Create a new document in Photoshop and fill the background with a gradient color. It could be a solid as well. I am using a linear gradient with 2 blues. Use the image below for reference.
Step 2
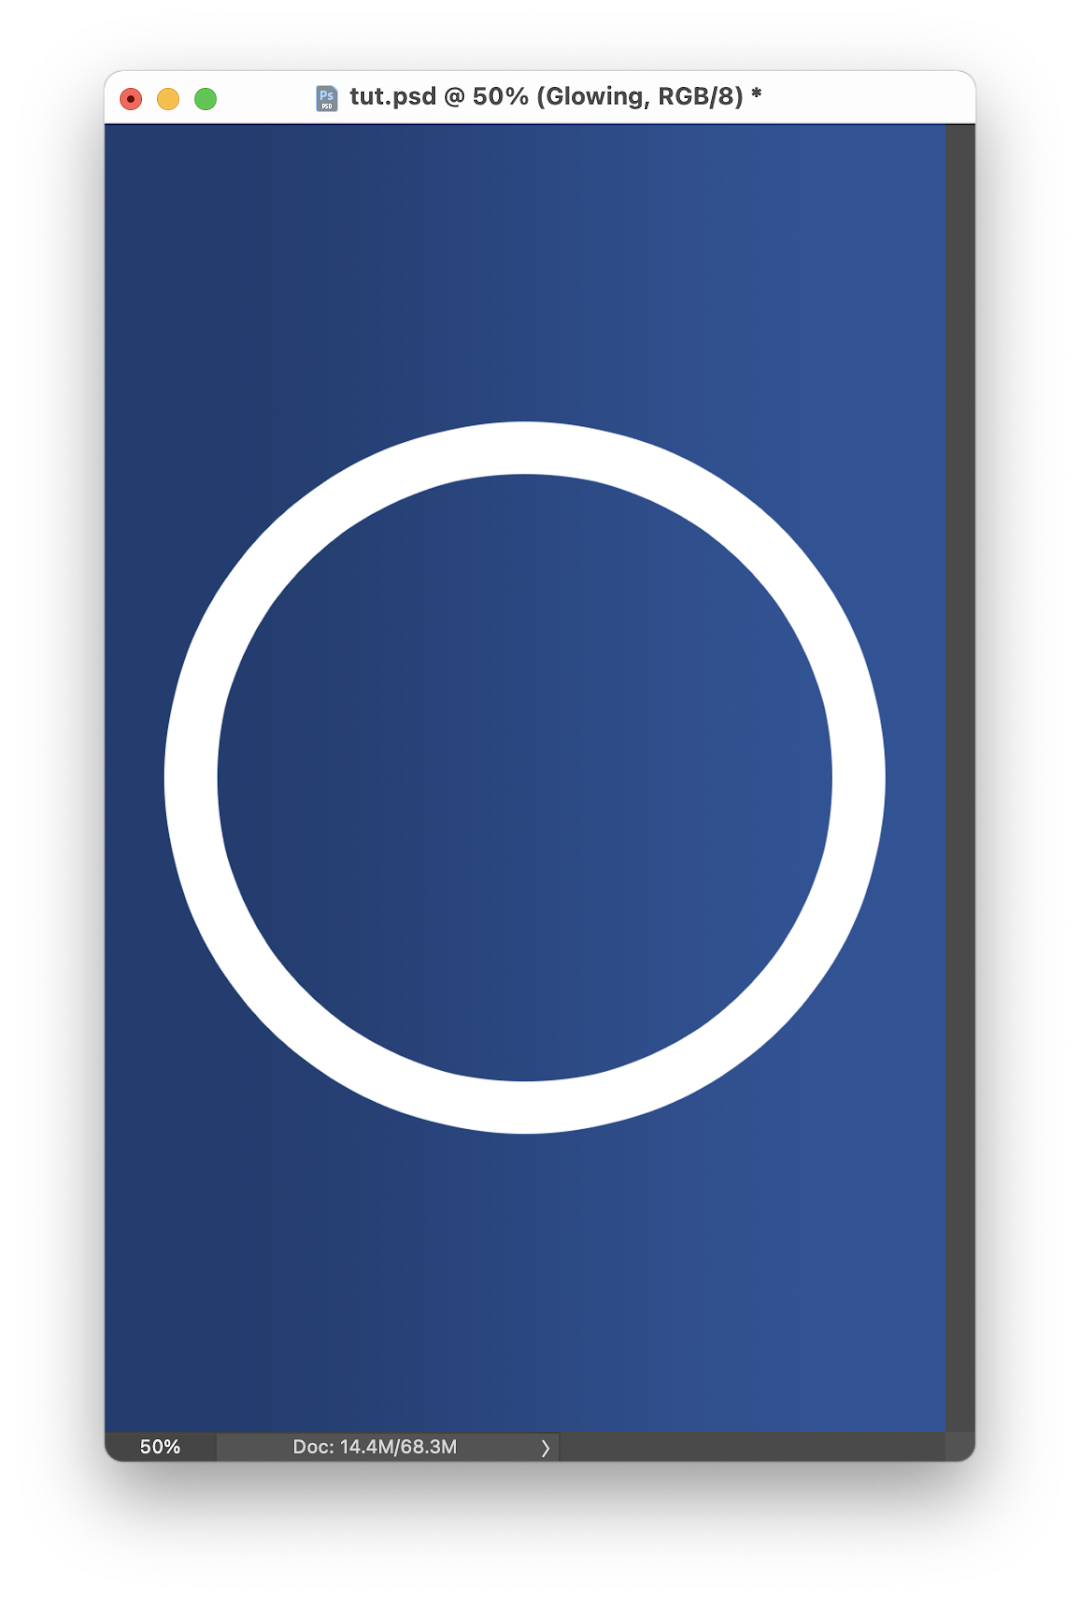
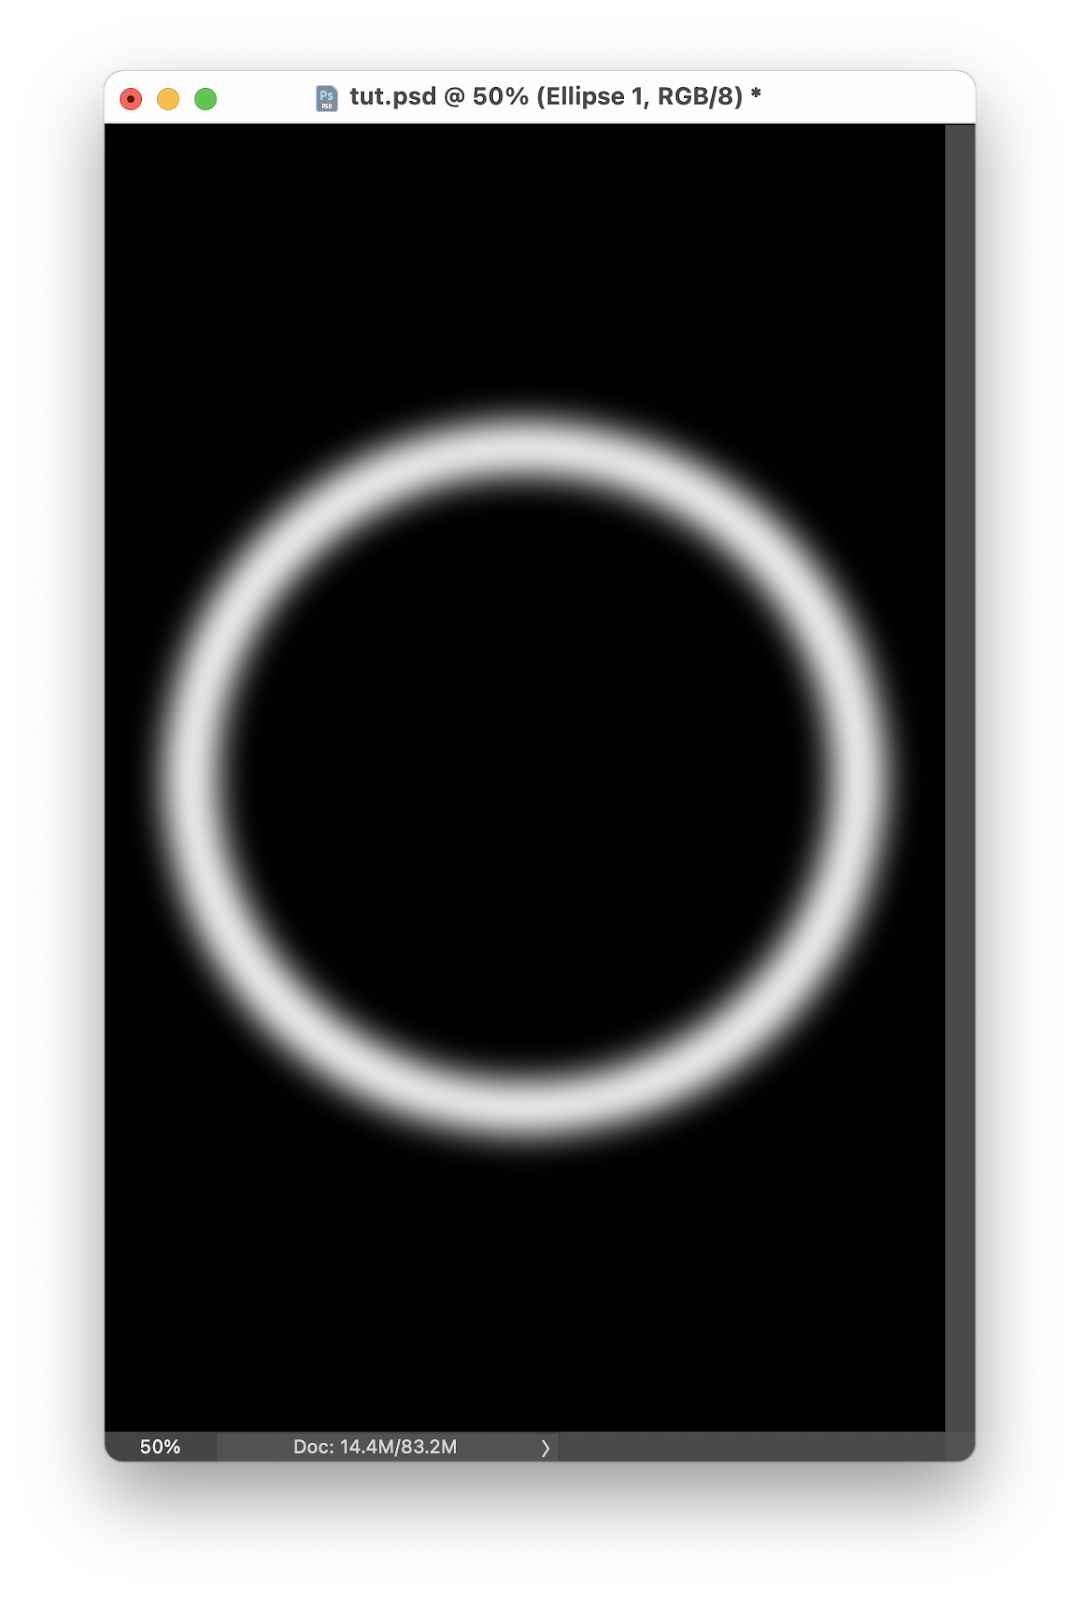
Create a circle and with the Layer Styles add a stroke. Make it very thick and white like the image below.
Step 3
Group this layer. In this new group add a new layer and fill with black. It’s very important that the circle is white and there’s a layer with pure #000000 black background.

Step 4
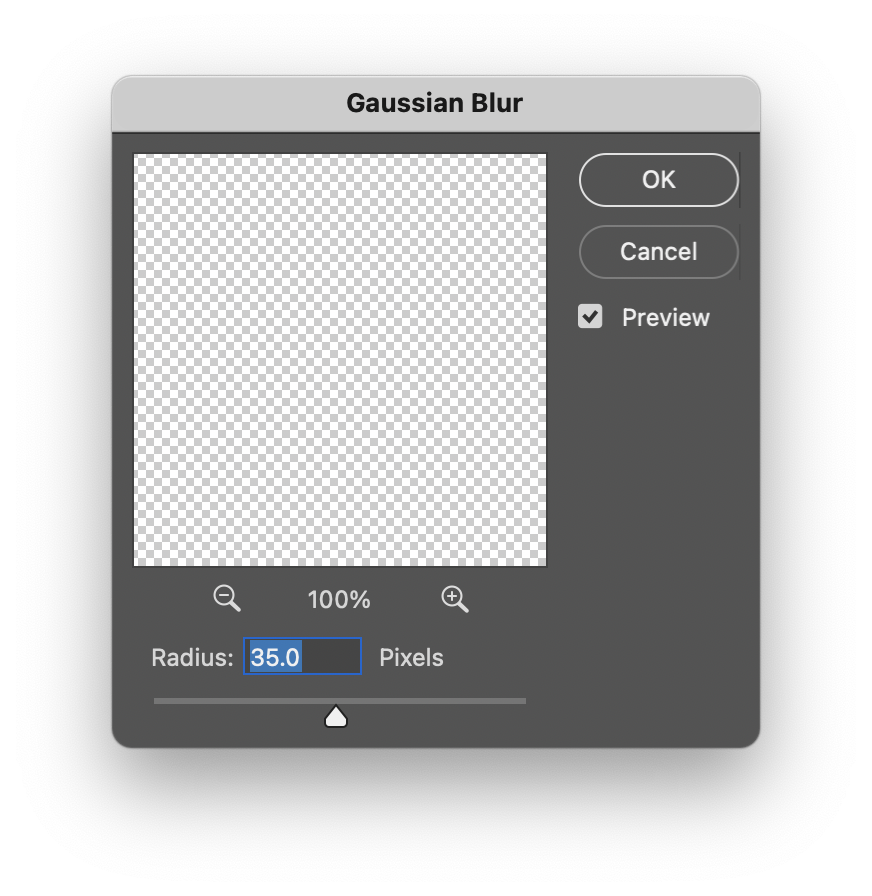
Select the circle layer and go to Filter>Blur>Gaussian Blur. I am using 35 pixels for mine, but it will vary depending on your stroke weight.
Step 5
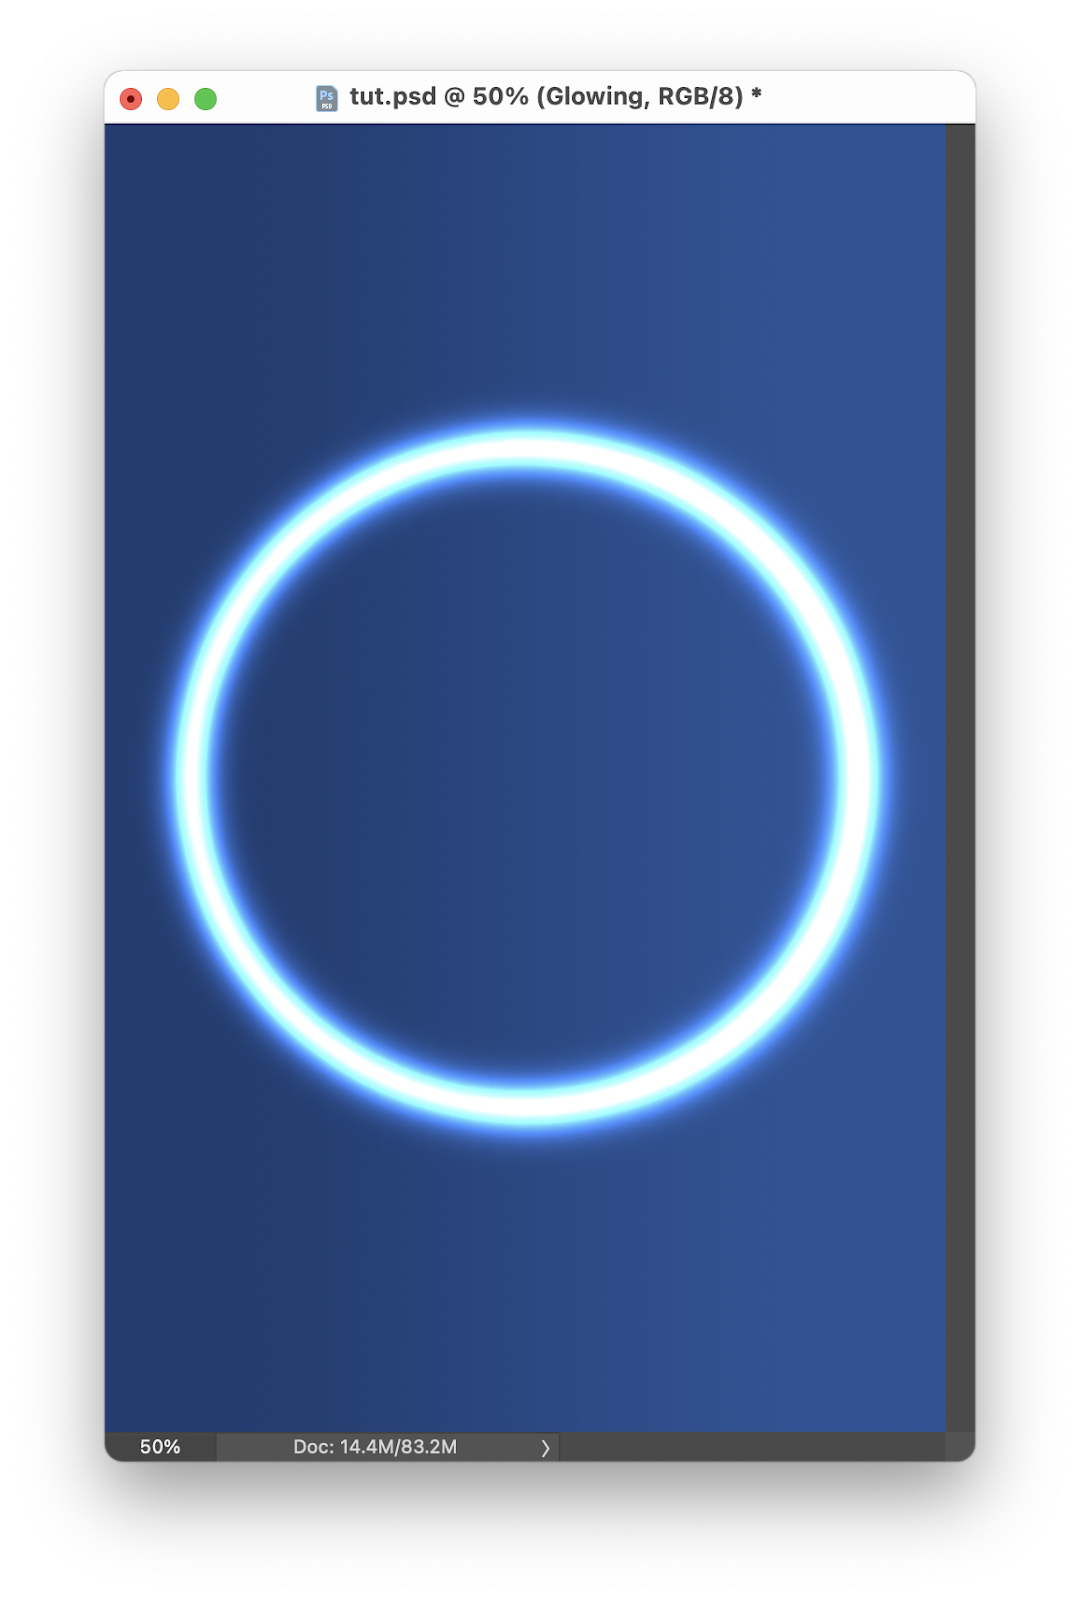
Here’s where the magic happens. Just change the blend mode to Color Dodge. You will notice that the grays really blend with the background with a neon style. The black is gone. In the past you didn’t need the black background, but this effect will only work if you add the black background.
Step 6
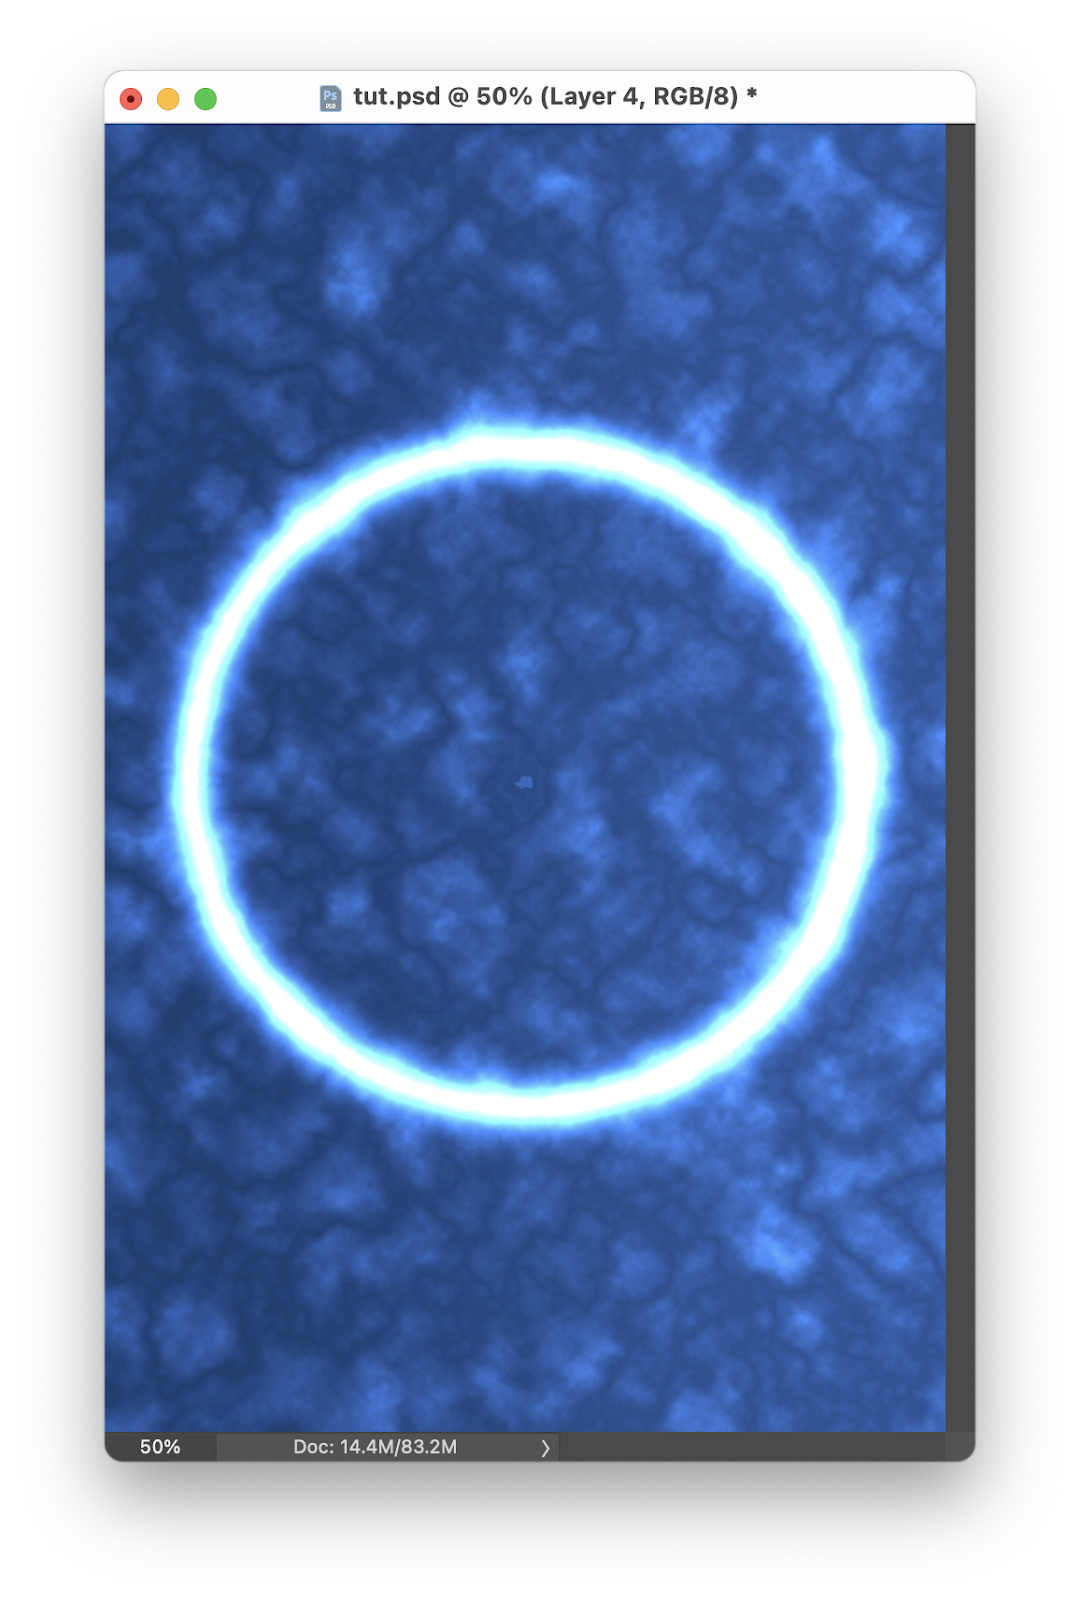
Add a new layer inside of the group and fill it with black. Make sure the black and white are the colors for Foreground and Background colors. Then go to Filter>Render>Clouds. After that change the opacity to 60%
Step 7
Add a new layer, this time outside of the group. Just make sure that this layer is below in order than the group. That should be on top of all the other layers. Fill this layer with black. You will notice that the effect won’t be visible anymore and that’s because the Color Dodge blending mode only works over colors that are not pure black.
Step 8
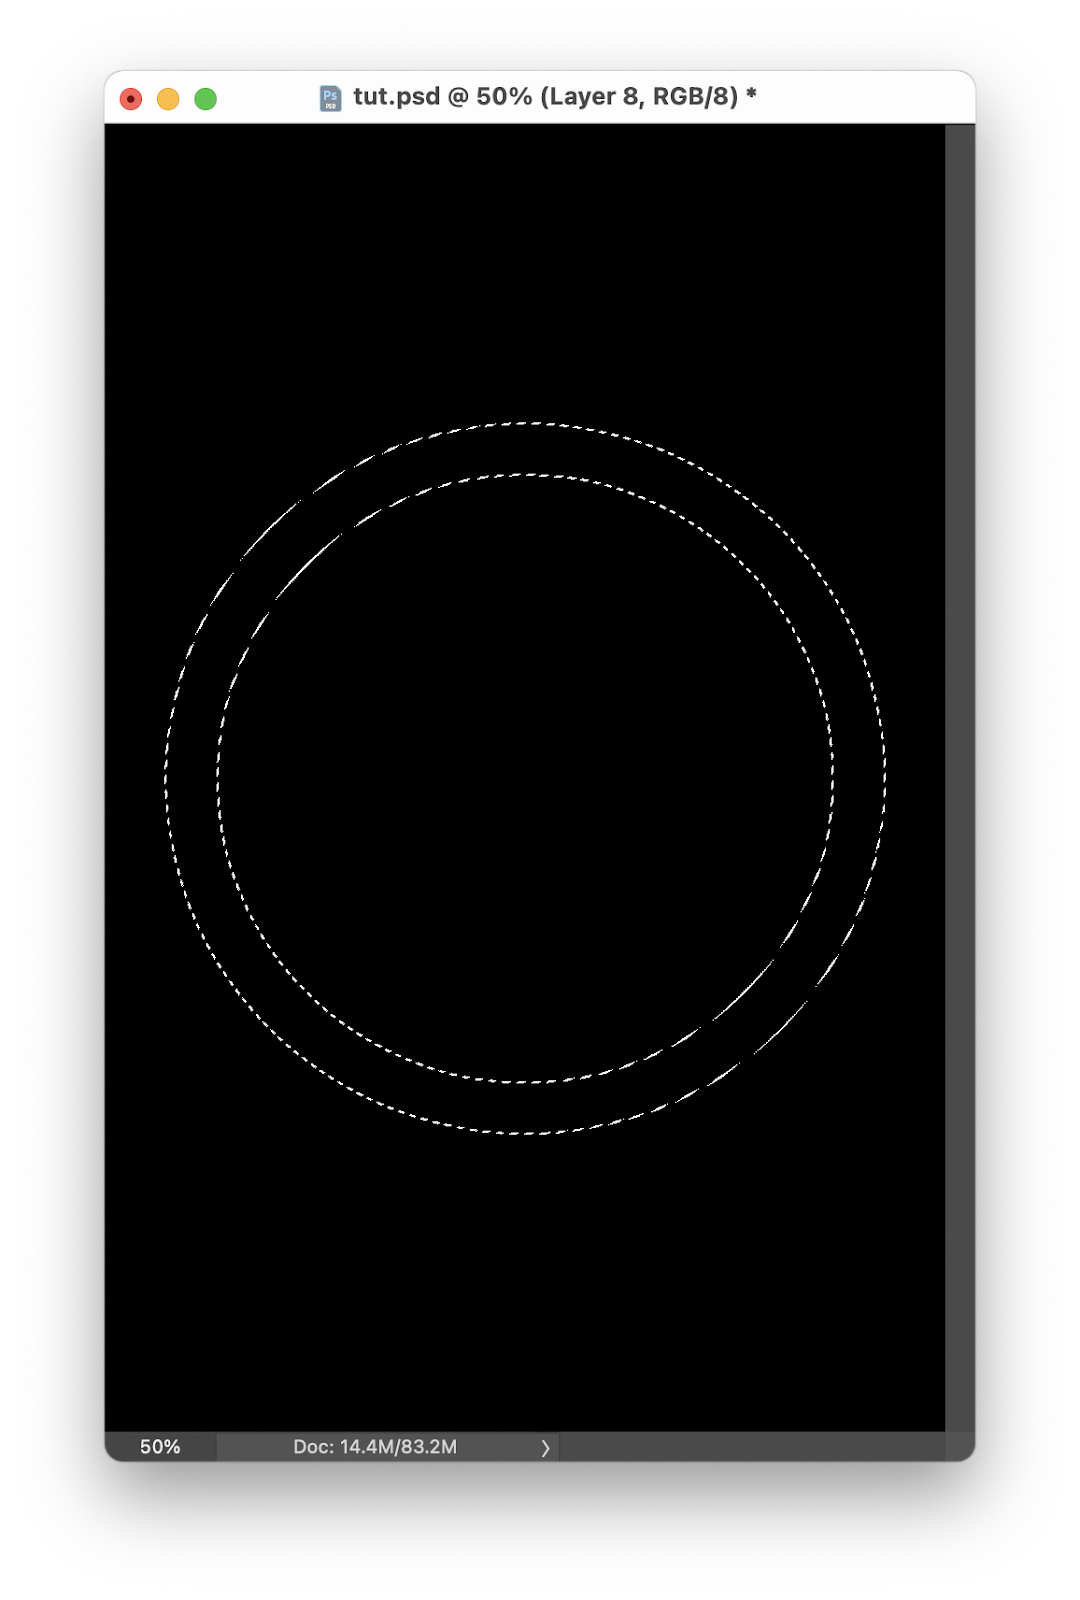
Holding the Command Key on Mac, I believe Control Key on PC, click on the circle to create a marquee selection.
Step 9
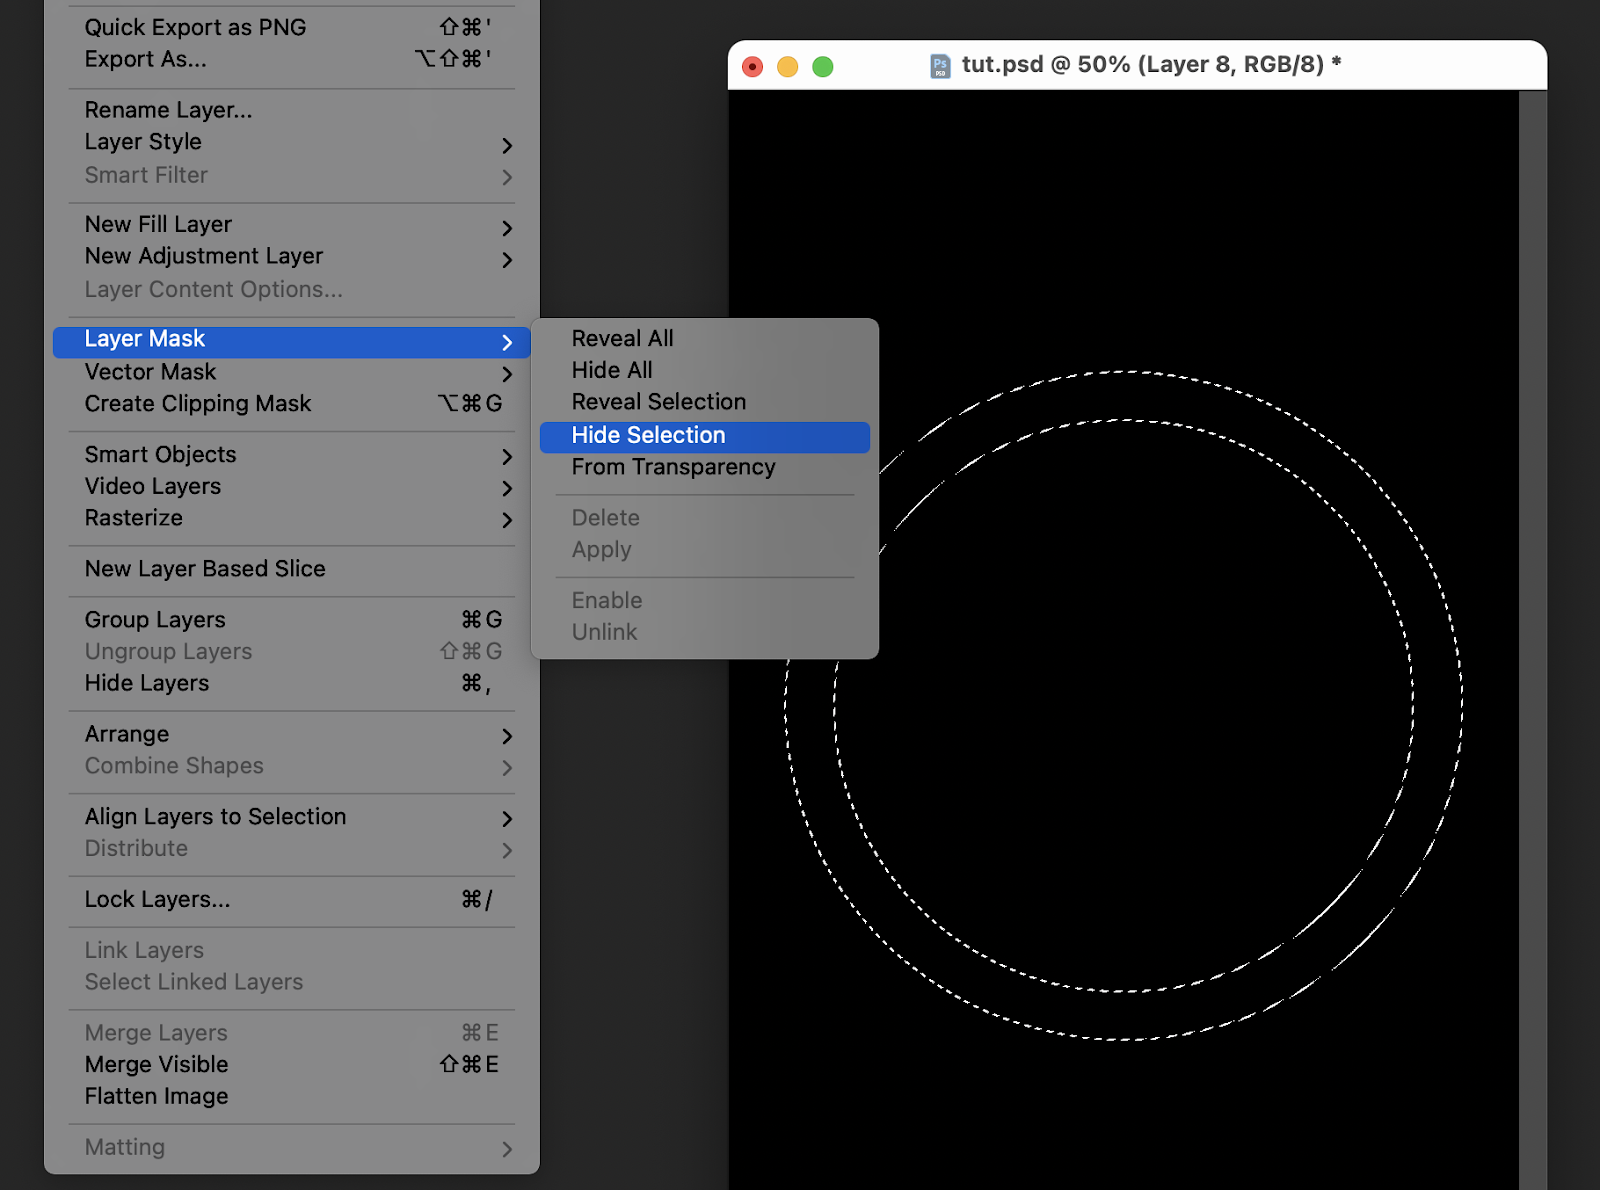
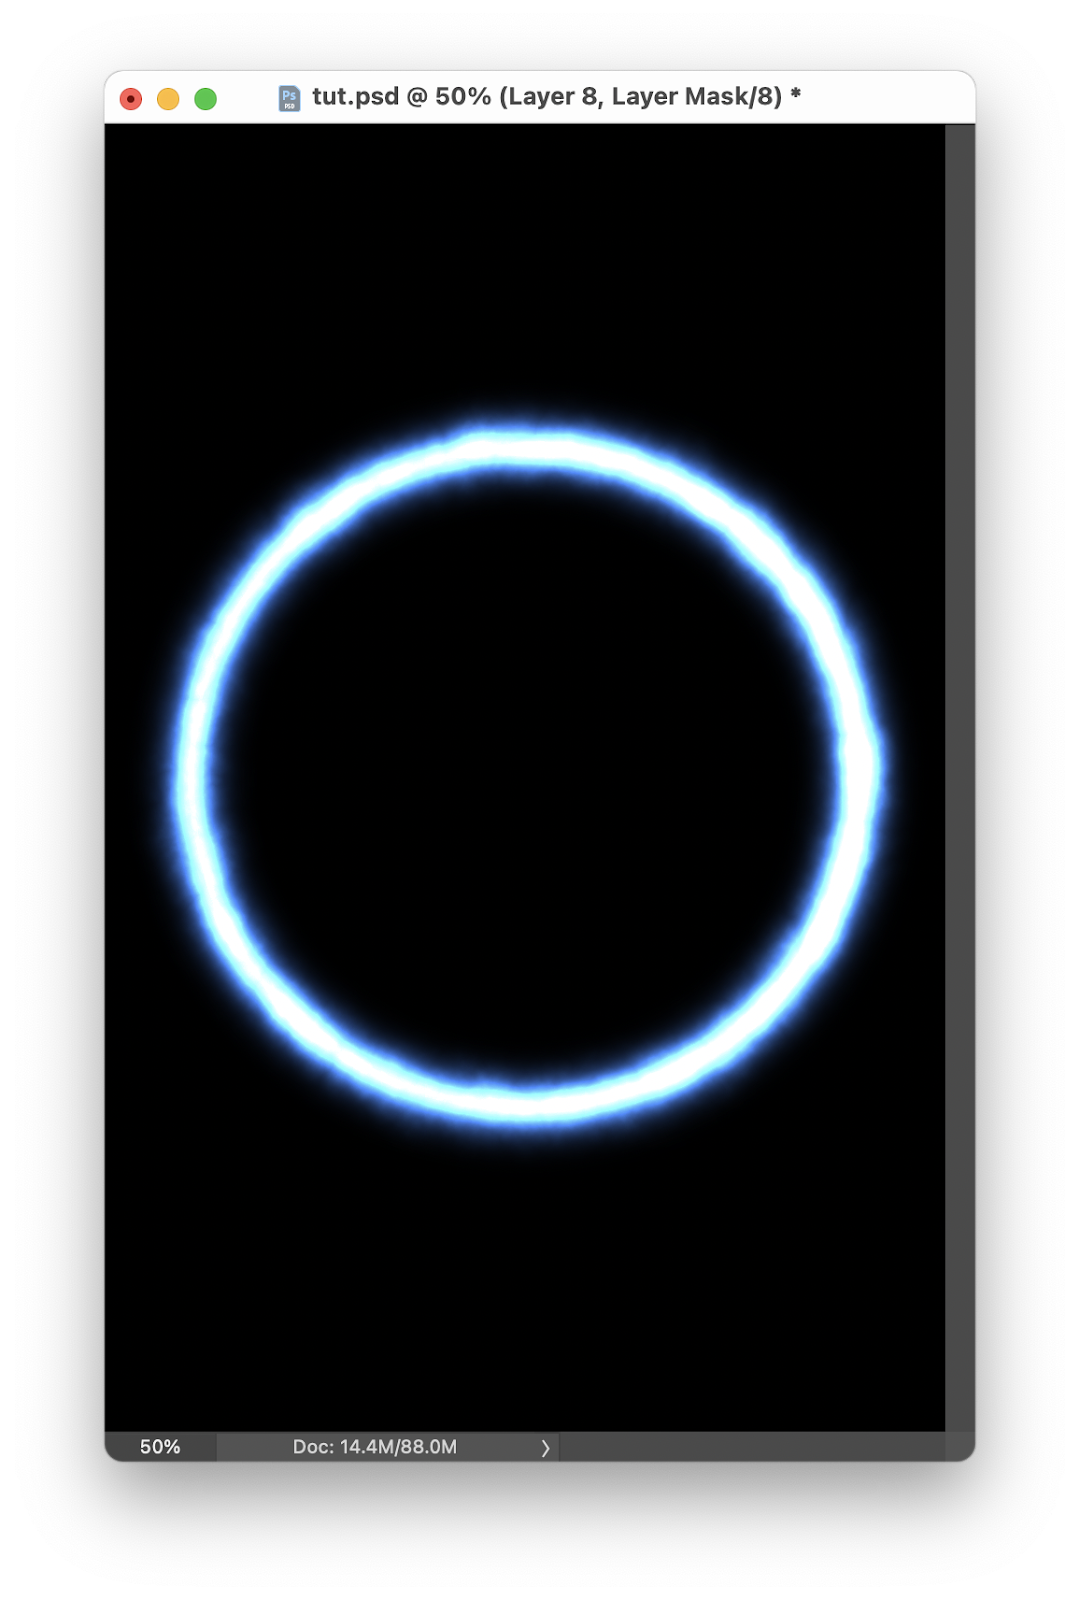
With the black lawyer selected, go to Layer>Layer Mask> Hide Selection. What it’s going to happen is that it will hide the blacks and just show the glowing part.
Step 10
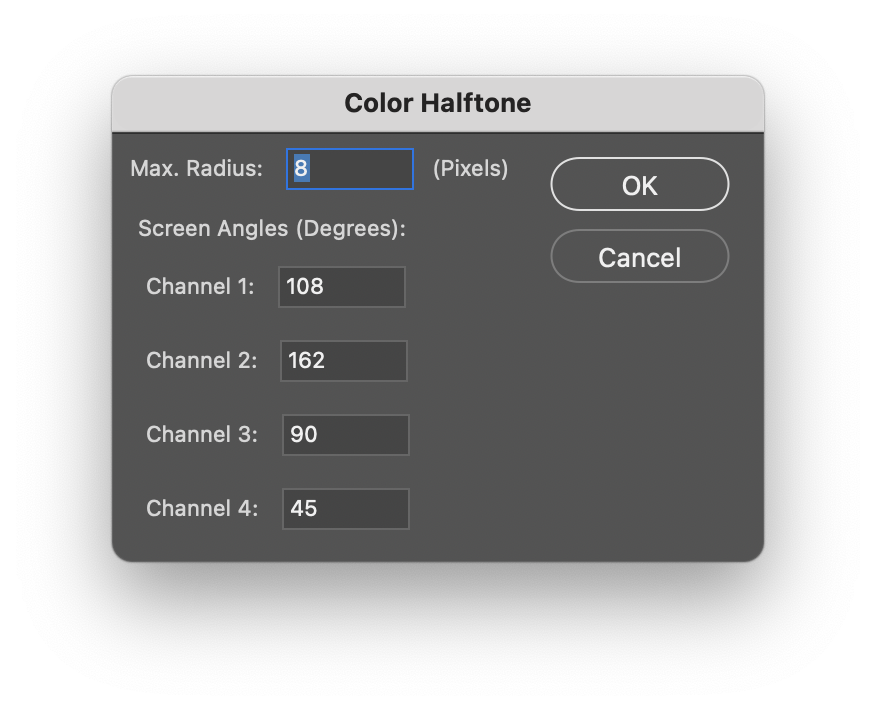
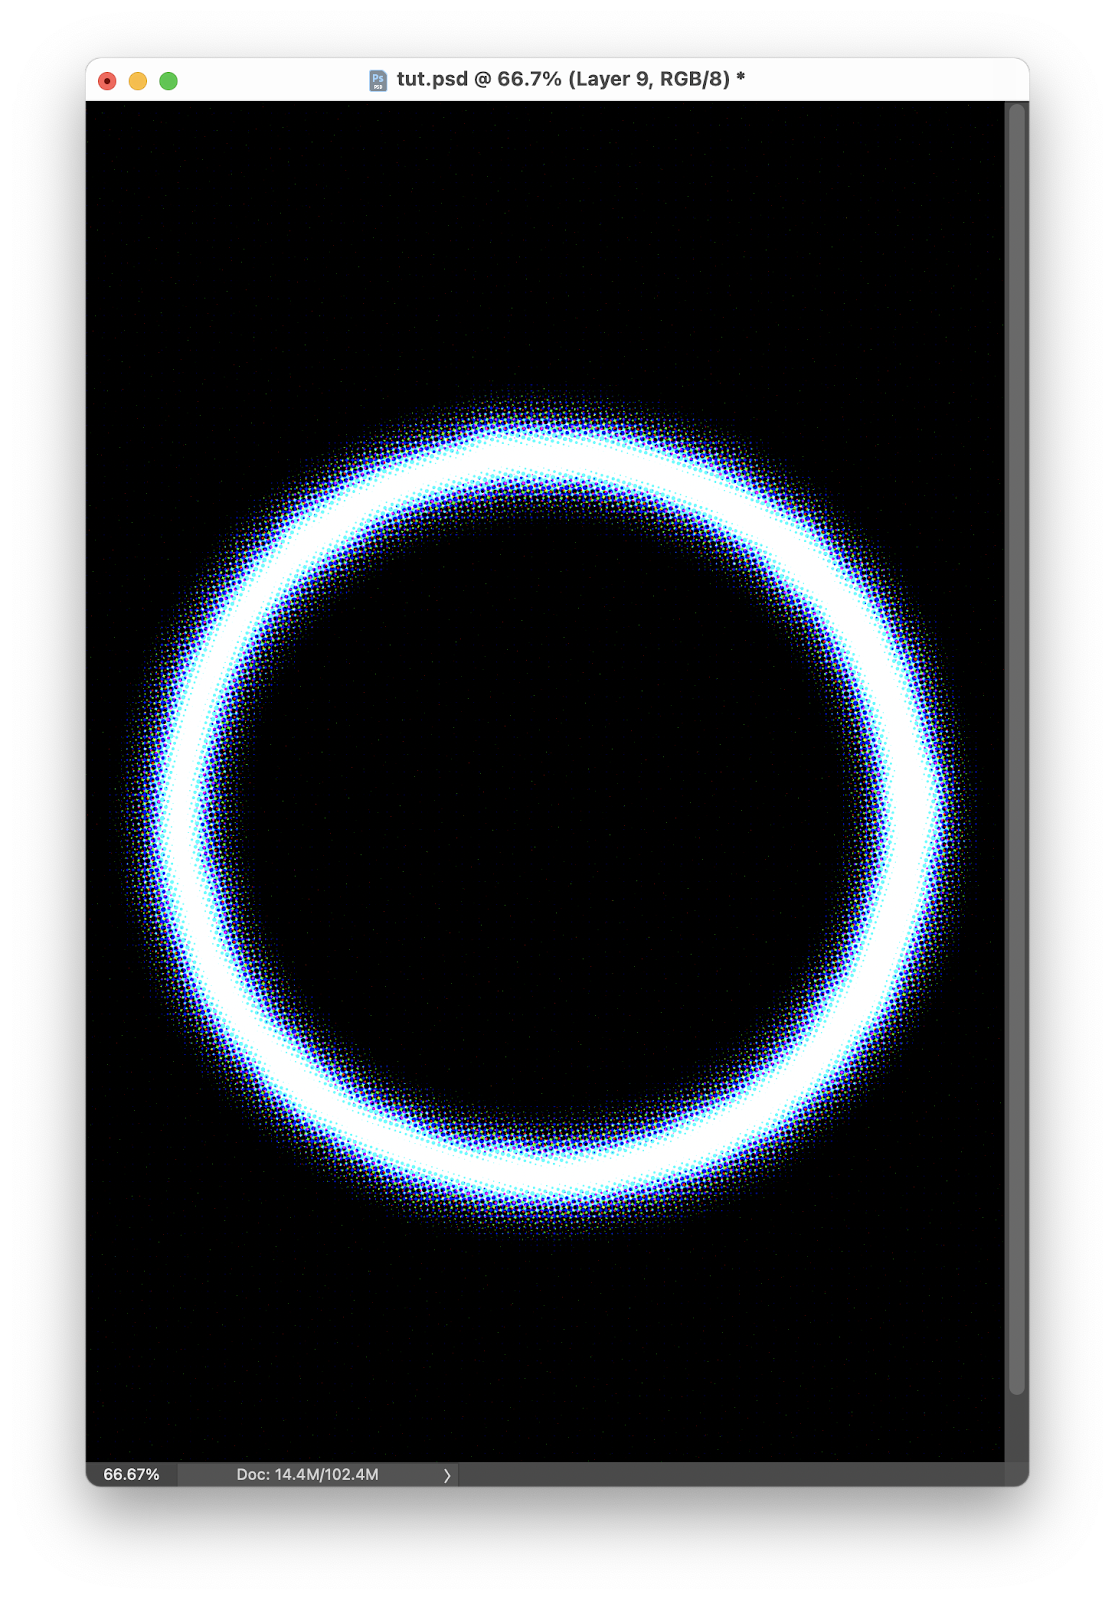
Press Command + Option + Shift + E (Mac) or Control + Alt + Shift + E (PC) to create a new layer by merging all the other layers. Then go to Filter>Pixelate>Color Halftone. It will create this super awesome effect.
Conclusion
Add some text and you can create a super simple, yet awesome poster. Just don’t use this one, because I am already using it 🙂